
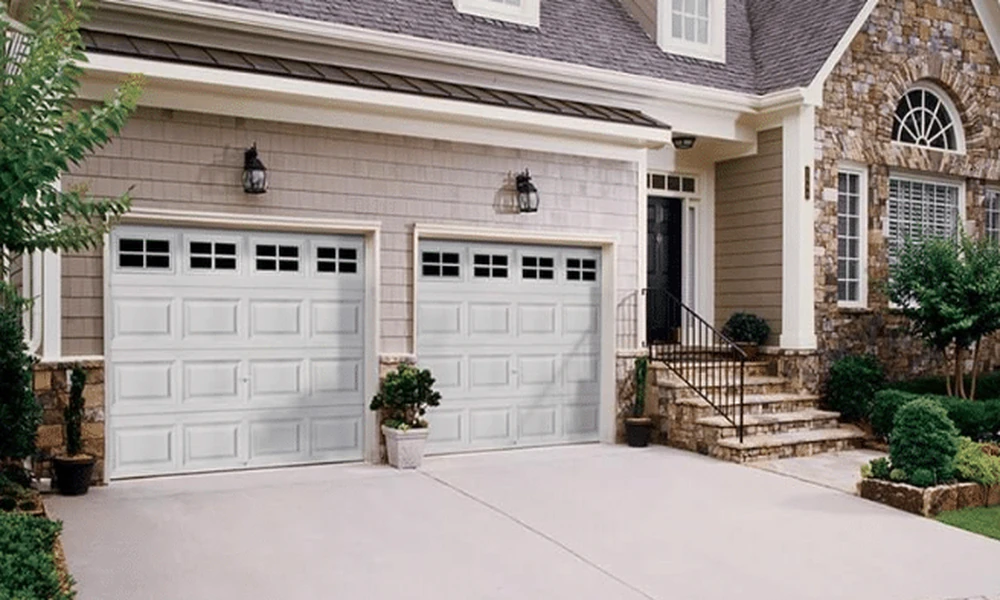
Three times last winter I watched a neighbor in Florence stand in a cold garage, yanking a manual release cord because the opener had quit again. Every one of those openers was fifteen years old or more. Every one of those homeowners had the same plan: call somebody, get a new unit, done. None of them had thought about weight, ceiling height, or whether the door itself was the real problem.
That’s the gap this guide fills. By the end you’ll know how to check whether your door can even take a modern opener, which drive type actually suits a Northern Kentucky garage, what a fair installation job includes, and the few details that decide whether the thing runs quiet for a decade or groans for three years. You don’t need to be handy. You do need to know what to ask.
Why Northern Kentucky Garages Are Harder on Openers
Our climate does a number on these machines. Summer humidity swells wood door panels, which adds weight the motor has to drag up a rail every single day. Then January arrives with freeze-thaw cycles that work on springs, hinges, and rollers. An opener rated for a mild, dry climate can be perfectly fine in Arizona and miserable in Kenton County.
So the first thing to understand is that the opener isn’t the whole system. It’s one component in a chain that includes springs, cables, rollers, tracks, and the door itself. If your door weighs more than the opener’s rated lift capacity, no brand on the shelf will save you. Springs carry the door’s weight. The opener just guides it.
That distinction matters because it changes your shopping list. A lot of homeowners buy a bigger motor to fix a slow door when the real answer is a spring adjustment.
Check Your Door Before You Buy Anything
Do this in five minutes. Disconnect the opener using the release cord so the door is on manual. Lift it halfway. A properly balanced door should stay put when you let go, and it should move with one hand and modest effort. If it crashes down or you’re grunting to raise it, stop. Call a spring tech before you call an opener installer.
Here’s my Balance, Clearance, Power check, which is the sequence I run through any time I’m evaluating a garage:
- Balance: door holds position mid-travel, moves with light effort, no scraping or grinding.
- Clearance: measure ceiling to highest point of door travel, plus side room for tracks. Low-clearance and wall-mount openers exist for tight garages, and they exist for a reason.
- Power: available outlet near the ceiling, and a circuit that isn’t shared with a freezer or a shop vac that trips breakers.
If all three pass, you’re in good shape. If one fails, fix that first. I’ve seen people spend six hundred dollars on a new unit and still have a door that sticks, because nobody looked at the rollers.
Which Opener Drive Fits Your Garage
Three drive types cover almost every home. Belt drives run quiet and cost more. Chain drives are loud and cheap and basically indestructible. Screw drives sit in the middle and have fewer moving parts than a chain.
For a garage under a bedroom, which describes a huge share of Northern Kentucky homes, I’d pick belt drive without hesitating. The noise difference is real and you’ll notice it at 6 a.m. For a detached garage or a shop where nobody’s sleeping above it, chain drive is the smarter spend.
Then there’s the wall-mount option. It mounts beside the door instead of overhead, which frees up ceiling space for storage and eliminates the rail entirely. It’s also the answer for garages with low ceilings or a beam running down the middle. It costs more and it needs a torsion spring setup, so confirm that before you commit.
One more thing to weigh: connectivity. Most current openers ship with an app and a battery backup option. Backup matters more than you’d think, because a power outage during a storm is exactly when you want the door to work. Electrical safety standards for these units are set and maintained by UL Solutions, so a listing mark on the box is a baseline you should expect, not a bonus.
What the Installation Job Actually Involves
A competent install takes two to four hours for a straightforward replacement. A first-time install in a garage with no existing wiring takes longer, because someone has to run a circuit and mount an outlet near the ceiling.
The work itself breaks down into a predictable sequence:
- Remove the old unit and inspect the rail, header bracket, and hardware.
- Mount the new header and rail brackets, leveling the rail.
- Attach the trolley and connect the door arm.
- Wire the wall console, safety sensors, and any keypad.
- Set travel limits and force settings, then test the auto-reverse.
That last step is the one people skip, and it’s the one that matters most. Federal law has required automatic reversing mechanisms on residential openers for decades, and the safety sensors near the floor are part of that system. Test them by placing a roll of paper towels in the door’s path and closing it. The door should reverse on contact. If it doesn’t, nothing else about the install counts.
DIY or Hire Out?
Replacing an opener on an existing rail and existing wiring is a genuine weekend project for someone comfortable on a ladder. It’s not hard. It’s just fussy, and it happens overhead, which makes every mistake feel twice as expensive.
New installs are different. Running a dedicated circuit, mounting a header bracket into structural framing, and setting tension correctly are all places where a wrong move costs more than the labor you saved. Springs especially. Do not touch torsion springs. That’s not caution talking, that’s a genuine hazard.
My rule: if there’s existing wiring and an existing rail, DIY is reasonable. If either is missing, hire it out.
Parts, Remotes, and the Long Game
Openers outlive their accessories. Remotes get lost, keypads die, circuit boards fail after a lightning strike, and safety sensors stop aligning when a kid bumps the track with a bike. The unit itself might run twelve to fifteen years while you replace three remotes and a gear kit in that span.
So buying for parts availability matters. Before you commit to a model, check whether replacement remotes, gear kits, and circuit boards are easy to find for it. A unit that’s cheap today and impossible to source parts for in five years is a bad deal, and I’d take a slightly pricier model with a long parts tail every time.
Some homeowners shortcut this by reusing what they already own. If you’ve got working remotes and a keypad from a prior system, and you can find compatible replacement parts, that math can work. This is where shopping around for garage door opener installation in Northern Kentucky and comparing it against buying parts and hiring a handyman gets interesting, because the honest answer depends on how much of your existing hardware is still good. Get a quote for the full install, price the parts separately, and see which number wins.
The other long-game item is insulation. An insulated garage door reduces heat transfer between the garage and the house, and the Department of Energy maintains guidance on home insulation if you want to understand the principle. A lighter, better-balanced door is also easier on your opener, which is a nice side benefit.
Troubleshooting Before You Replace
Before you spend anything, run these checks in order. The door reverses immediately after closing: sensor alignment or a small object in the beam’s path. The opener hums but nothing moves: stripped gear or a disengaged trolley. The remote works only up close: dying battery. The wall button works but the remote doesn’t: remote programming or a radio receiver issue.
Roughly half of the service calls I’ve watched turn into nothing more than a realignment or a battery swap. The motor was fine the whole time.
Picking Someone You Trust
Ask three questions on the phone. How long have you been working in this area? Do you test the auto-reverse before you leave? What’s your policy if the door doesn’t balance after install? Anyone who can answer those without hesitation is probably fine. Anyone who dodges them isn’t.
Get the quote in writing, confirm whether hauling away the old unit is included, and ask whether the price covers a new wall console and sensor set. Those small parts add up.
Machine reliability standards and safety testing methods for automated equipment are documented by the National Institute of Standards and Technology, which publishes measurement and standards research if you’re the type who wants the technical backdrop. Most people aren’t. That’s fine. Knowing the safety test exists is enough.
The Short Version
Balance the door first, then pick a drive that matches where you sleep, then decide whether the job is yours or someone else’s. Do the reverse test either way. Check that parts will still exist in five years. That’s the whole formula, and it works whether you’re in Fort Mitchell, Independence, or a farmhouse out past Walton.
What’s your door doing right now, grinding, sticking, or just old? That answer tells you more about what to spend than any spec sheet will.

Comments are closed.